Disaster Recovery: How To Protect On-Premises MySQL/MariaDB Databases with SkySQL (Part 2)
February 10, 2025
In the first part of our disaster recovery series, we explored strategies for setting up a disaster recovery (DR) site for databases running in SkySQL. If you haven’t read it yet, you can find it here. That post covered automated backups, replication across regions, and failover mechanisms specifically for SkySQL-hosted databases.
Now, let’s shift our focus to the next crucial scenario: setting up a DR site in SkySQL for on-premises databases. This approach allows businesses to extend the reliability and flexibility of SkySQL to protect their existing on-premises infrastructure, ensuring that they can recover from unexpected events with minimal disruption.
Setting Up a DR Site for On-Premises Production Databases in SkySQL
With many organizations running mission-critical databases on-premises, leveraging SkySQL as a disaster recovery solution offers a cost-effective and scalable way to protect against local outages, hardware failures, or natural disasters. By replicating your on-premises database to the cloud, you can maintain data availability, achieve geographic redundancy, and benefit from SkySQL’s managed services.
Advantages of Using SkySQL for On-Premises Disaster Recovery
Reduced Hardware Dependency: By replicating your data to the cloud, you eliminate the need for a second physical data center, significantly reducing hardware and maintenance costs.
Scalable Resources: Unlike a traditional DR site, SkySQL allows you to scale resources up or down based on your needs, optimizing disaster recovery costs.
Simplified Management: With SkySQL’s API and intuitive user interface, managing your disaster recovery environment is straightforward, enabling you to focus on your core business operations.
In this post, we will walk through configuring a disaster recovery site for your on-premises databases using SkySQL, focusing on seamless data replication and failover strategies.
The following steps can be completed via SkySQL’s UI or REST API, before proceeding, please make sure you have the following info available to use with the SkySQL Backup Service API:
Collect the following information from the SkySQL Portal.
API_KEY: Please obtain your API_KEY from the portal: https://app-test.skysql.com/user-profile/api-keys
Source database credentials. In this example, we will use an on-premises database called “acme-onprem”.
For this exercise, we will use the following values, but please be sure to use appropriate values from your environment.
API_KEY: skysql.xxxxxxzzzyyyy.pxxxxyyyyzzzzxxxxxagWscolHJ8uw9Q2Tcle.xxx
1. Secure Connectivity Between On-Premises and SkySQL
To begin, it is essential to establish a secure connection between your on-premises database and SkySQL. You can achieve this through Virtual Private Network (VPN) configurations or using a dedicated private link service (Link), which ensures that data transferred between your on-premises database and SkySQL remains secure.
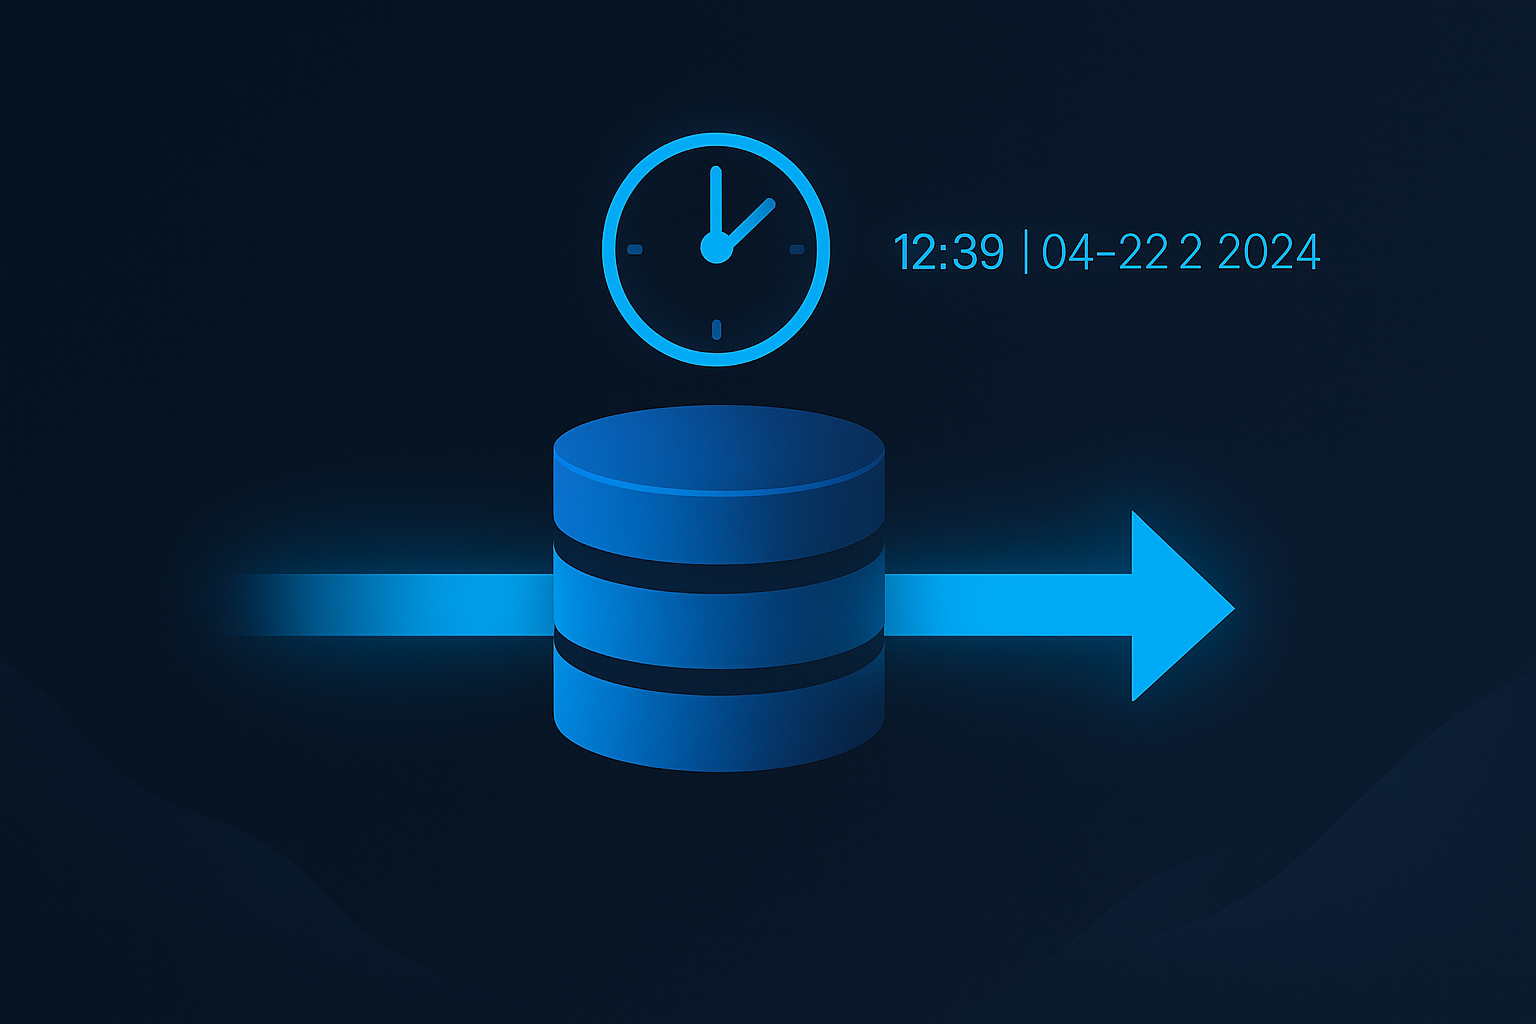
2. Take a Backup of your OnPremises database
There are two types of backup you can employ to take a backup of your on-premises database, Logical and Physical, you can read more about these on this page (https://mariadb.com/kb/en/backup-and-restore-overview/) . In our example, we will use a logical backup method to take the backup of an existing database and restore it to SkySQL.
Use the following command to take a logical backup of the on-premises database:
mysqldump -u [username] -p -h [hostname] --single-transaction --master-data=2 --routines --triggers --all-databases --ignore-database=mysql --ignore-database=information_schema --ignore-database=performance_schema --ignore-database=sys > dump.sql
To avoid conflicts with the existing SkySQL users, use SELECT CONCAT on your source database to create users and grants in separate files. Note that you may need to create the schema and table grants separately as well.
mariadb -u [username] -p -h [hostname] --silent --skip-column-names -e "SELECT CONCAT('CREATE USER \'', user, '\'@\'', host, '\' IDENTIFIED BY PASSWORD \'', authentication_string, '\';') FROM mysql.user;" > users.sql
mariadb -h [hostname] -u [username] -p --silent --skip-column-names -e "SELECT CONCAT('GRANT ', privilege_type, ' ON ', table_schema, '.* TO \'', grantee, '\';') FROM information_schema.schema_privileges;" > grants.sql
mariadb -h [hostname] -u [username] -p --silent --skip-column-names -e "SELECT CONCAT('GRANT ', privilege_type, ' ON ', table_schema, '.', table_name, ' TO \'', grantee, '\';') FROM information_schema.table_privileges;" >> grants.sql
3. Set Up a New, Smaller Database in SkySQL
Create a new SkySQL instance in the desired region where you want to establish your DR site. To save costs, this instance can be smaller than your production database and can later be scaled up if a failover occurs.
An example API call to create a new DR instance. Please replace “acme-drsite” for your appropriate situation.
1bash#: curl --location --request POST https://api.skysql.com/provisioning/v1/services \
2   --header "X-API-Key: ${API_KEY}" --header "Content-type: application/json" \
3   --data '{
4"service_type": "transactional",
5"topology": "standalone",
6"provider": "aws",
7"region": "us-west-2",
8"architecture": "amd64",
9"size": "sky-2x8",
10"storage": 100,
11"nodes": 1,
12"name": "acme-drsite",
13"ssl_enabled": true
14
Alternatively, you can use the portal to deploy the new service by selecting appropriate options.
4. Restore the logical Backup
Once the new database service “acme-drsite” is ready, restore the logical backup from the original database into the new instance by following the instructions below.
mariadb -u [SkySQL username] -p -h [SkySQL hostname] --port 3306 --ssl-verify-server-cert < dump.sql
mariadb -u [SkySQL username] -p -h [SkySQL hostname] --port 3306 --ssl-verify-server-cert < users.sql
mariadb -u [SkySQL username] -p -h [SkySQL hostname] --port 3306 --ssl-verify-server-cert < grants.sql
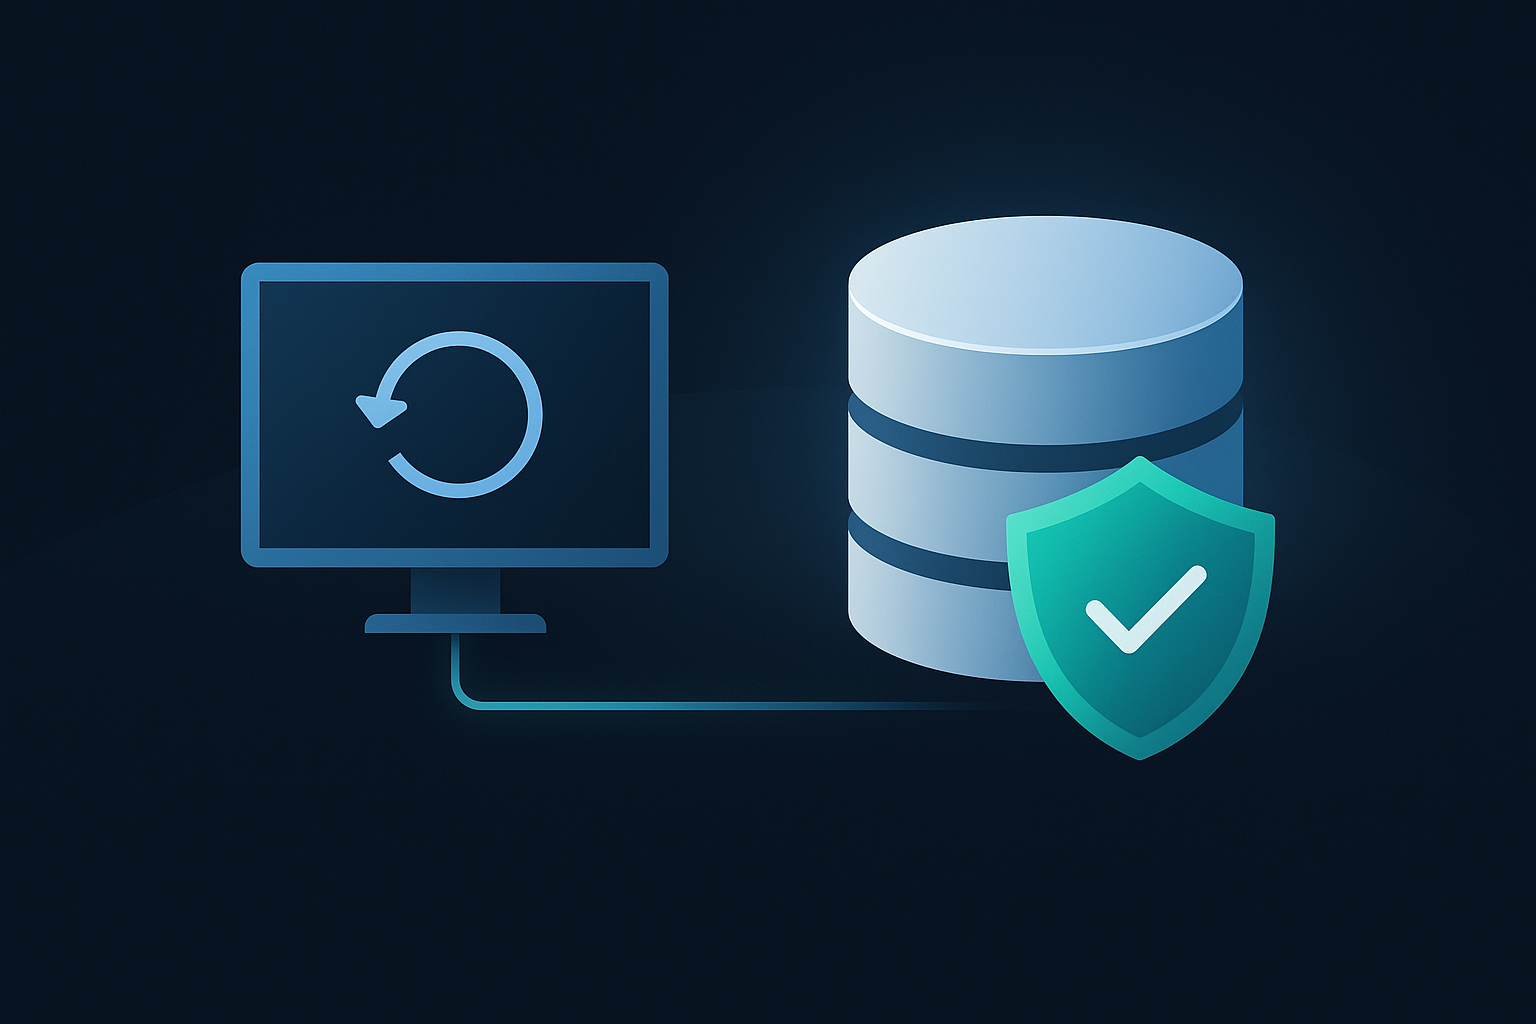
5. Set Up Replication
Configure replication between the original database (acme-onprem) and the new DR (acme-drsite) instance. This ensures that the DR database stays up-to-date with real-time changes from the on-premises database.
5.1. Allowlist Outbound IP
First, you need to add the outbound IP address of the DR service (acme-drsite) to the allowlist of your primary service (acme-onprem). This ensures the two databases can communicate securely. This step also assumes your on-premises database can be accessible from the internet or through secure VPN connectivity setup in the first step.
In our example, Outbound IP is 52.13.163.153. You can find this information from the service details page in the SkySQL Portal.
Obtain the source (acme-onprem) GTID position from which to start the replication by using the following command on the mariadb prompt.
SHOW MASTER STATUS;
The output will be similar to below. Note down the value in GTID columns.
+------------------+----------+--------------+--------------------------+
| File | Position | Binlog_Do_DB | GTID |
+------------------+----------+--------------+--------------------------+
| mysql-bin.000001 | 654321 | | 0-1-1234567890 |
+------------------+----------+--------------+--------------------------+
gtid_binlog_pos = 0-1-1234567890
5.2. Configure GTID Position
Now configure the acme-drsite database by calling the stored procedure as below. Login to acme-drsite database service and run the following command from the mariadb command line. Replace host and port with the source (acme-production) hostname and port. Replace ‘gtid’ with the gtid_binlog_pos value obtained from the previous step.
MariaDB [(none)]> CALL sky.change_external_primary_gtid(dbtwf12345678.syst0000.test1.skysql.com, 3306, 0-1-7062,572700-572700-210, true);
When you run the above command, you’ll see an output similar to the following.
+---------------------------------------------------------------------------------------------------+
| Run_this_grant_on_your_external_primary |
+----------------------------------------------------------------------------------------------------
| GRANT REPLICATION SLAVE ON *.* TO 'skysql_replication_dbpgf28771827'@'%' IDENTIFIED BY 'Vs?wr^A86NNijlh4,-v57o?W&PGoQDa1'; |
+----------------------------------------------------------------------------------------------------+
1 row in set (0.799 sec)
Copy the “GRANT” text (entire line) and run it in the source database “acme-onprem”. Log in to the database service and run the following command:
MariaDB > GRANT REPLICATION SLAVE ON *.* TO 'skysql_replication_dbpgf28771827'@'%' IDENTIFIED BY 'Vs?wr^A86NNijlh4,-v57o?W&PGoQDa1';
Query OK, 0 rows affected (0.044 sec)
5.3. Start Replication
Once the GTID position is configured, start replication on the target database (“acme-drsite) service.
MariaDB [sky]>CALL sky.start_replication();
5.4. Verify Replication Status
Finally, verify that the replication is working correctly by checking the replication status on the standby service.
Example stored procedure to check replication status:
MariaDB [sky]>CALL sky.replication_status();
6. Monitor Replication and Configure Alerts
SkySQL provides monitoring tools to check for replication lag or failures. Use these tools to ensure that the DR instance is consistently updated.
7. (Optional) Automating Failover for Rapid Recovery
In the event of an on-premises failure, it is crucial to have a mechanism that automatically promotes your SkySQL instance to the primary database role. This ensures minimal downtime and quick recovery of services. There are various ways this automatic failover can be achieved, one common way is to use the mariadb connector’s failover capability as described here or using a load balancer or dns service that can quickly switch the application to the DR service. Setting up automated failover capabilities will ensure application continuity by switching from the on-premises database to the DR site as soon as a failure is detected.
8. Testing and Validation of Your DR Setup
Regularly test your DR setup by simulating failover scenarios and validating data integrity. SkySQL offers tools for monitoring the status of your replication setup and testing recovery times. This step ensures that your DR site is ready to take over when needed, reducing the risks associated with unplanned outages.
Conclusion
Setting up a disaster recovery site for your on-premises database in SkySQL provides a powerful way to ensure business continuity and data integrity. By leveraging secure connections, automated backups, real-time replication, and failover capabilities, you can safeguard your operations from local disruptions and ensure quick recovery from unexpected events.
Part 2 of this series completes our deep dive into disaster recovery strategies with SkySQL. With these insights, you are well-equipped to build a resilient disaster recovery plan, whether your databases reside in the cloud or on-premises. For more details on cloud-based DR, don’t forget to check out the first DR cloud backup blog.
Ready to Get Started?
Sign up for SkySQL and protect your on-premises database with our robust DR solutions. With our forever free serverless developer tier, you can explore the capabilities of SkySQL without any commitments. For more information, contact our team or request a personalized demo.